SVG to embroidery file, sharp at any size.
Drop an SVG, PDF or AI logo. The vector is drawn at the exact size you will stitch, so edges, small text and thin strokes stay crisp, then digitized into fill, satin and running stitches you can watch sew below.
- Reading image
- Finding thread colours
- Planning stitches
- Building simulation
One studio for everything you stitch
- Logo to embroideryPNG, JPG, SVG or PDF to PES, DST, JEF, EXP and VP3, with the needle path shown.
- File DoctorOpen any embroidery file and get a 0-100 score: density, short stitches, jumps, small text.
- NamesTowels, baby sets, jerseys, caps: one name or a whole list, zipped.
- Cross-stitchPhoto or logo to a DMC symbol chart with floss amounts and a PDF.
- Approval linkSend your customer a link: they see it stitch out on the garment and approve.
Measured, not claimed
Every engine change runs our benchmark of 28 test logos; these are the numbers from the last run (2026-10-12).
- 28/28logos pass every check
- 0.95median shape match (IoU) with the artwork
- 0.0%short stitches (under 0.3 mm) at most
- 28/28files re-read correctly in all 5 formats
- 2.2 smedian time per design
Checks: shape match at least 0.85, short stitches under 2%, counted in every written file the way a pre-flight checker reads it, every format re-readable, stitch count unchanged on re-read. 7 of the logos are lettering, run with the OCR text path.
Same logo, two ways to stitch it
Drag the handle. Left: our file. Right: a naive fill of the same artwork, the way a raw auto-trace stitches it.
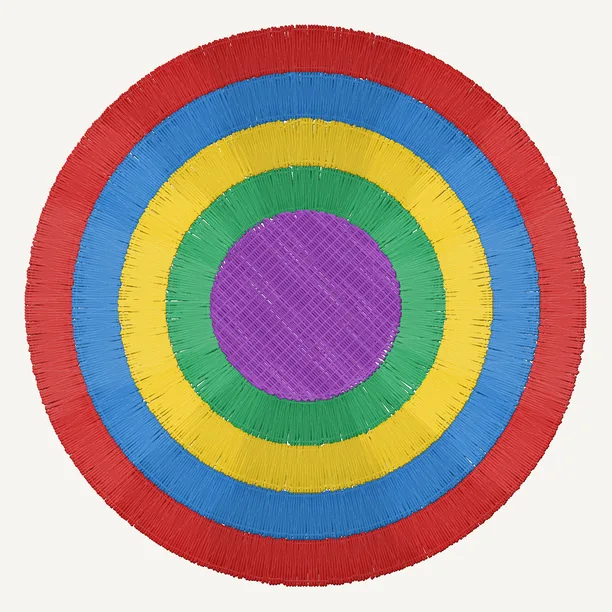
 Temsor Stitch5,752 stitches · 4 jumps · 4 trimsNaive fill3,296 stitches · 1,106 jumps · 0 trims
Naive fill: the artwork's colours as horizontal rows 0.4 mm apart, stitches up to 7 mm, no underlay, no pull compensation, no satin, a jump (never a trim) between pieces. Grey lines are untrimmed jump threads you'd clip by hand. Both drawn by the same renderer at 84 × 84 mm (scripts/make_compare.py).
Why a vector gives a better file
A raster logo has a fixed number of pixels; scale it up and the edges blur. A vector has none of that: we draw it fresh at the design width you choose, so every satin column follows the real outline and small lettering keeps its shape.
Colours come straight from the artwork and are matched to the threads your machine brand shows on screen. The quality checks still flag shapes too thin to sew and text under about 6 mm tall, because those limits come from thread, not from the file.
How it works
Drop your logo
PNG, JPEG, WebP, SVG or PDF/AI, or paste it. A clean logo with a few flat colours sews best.
Watch it stitch, fine-tune it
The simulation is the real file: every stitch in sewing order. Quality notes flag tiny text or hairlines, and you can click any part to change its thread, stitch, direction or density.
Download for your machine
Pick your machine and get the right format, hoop check and a printable production sheet.
Examples
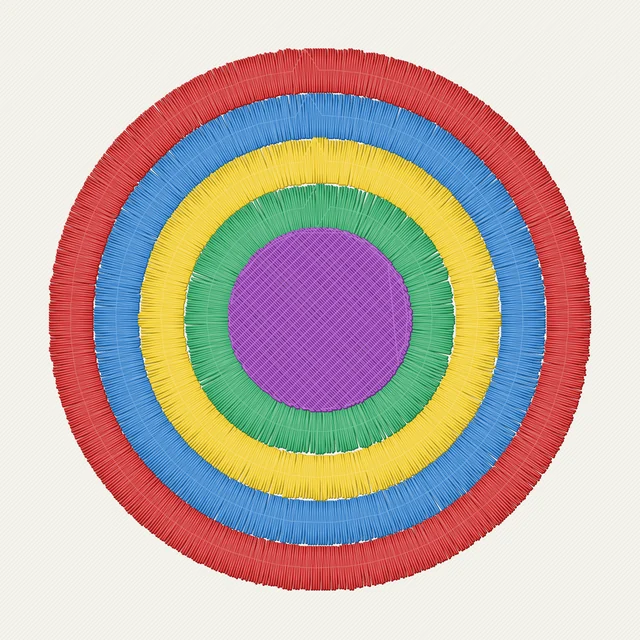
Our sample logos and the stitches they become. Pick one to run it yourself.
Works with your machine
- Formats
- PES
- DST
- JEF
- EXP
- VP3
- Machines
- Brother · Baby Lock (PES) · Janome (JEF) · Tajima and most commercial machines (DST) · Melco · Bernina (EXP) · Husqvarna Viking · Pfaff (VP3)
- Privacy
- Files are deleted within 30 minutes. Processed on our own server, never sent to an outside AI service, never used for training. Privacy notice
Our promise
Preview, simulation and production sheet are always free, and re-running a design at another size or fabric costs nothing.
Downloads are free while Stitch is in beta. When paid downloads launch, every purchase is covered: if a file sews badly, send us a photo of the sew-out and we fix it for free or refund you in full.
Questions
Which file formats do you make?
PES (Brother, Baby Lock), DST (Tajima and most commercial machines), JEF (Janome, Elna), VP3 (Husqvarna Viking, Pfaff) and EXP (Bernina, Melco). Pick your machine in the download step and we suggest the right one.
Is it really free?
Yes. The preview, stitch simulation and production sheet are free, and while we are in beta so are the downloads. No account and no card.
Which images work best?
Logos with a few flat colours and clean edges. A vector file (SVG, PDF or Illustrator .ai) is best: it is drawn sharp at full size. Otherwise a PNG with a transparent background, at least 500 px wide. Photos and soft gradients are reduced to a handful of thread colours, so they lose detail.
How close is the simulation to the real sew-out?
It draws the exact needle path of the file: same stitches, same order, jumps and trims included. Fabric, stabilizer, tension and machine still matter, so sew a test on a scrap before a production run.
Can I change how a part is sewn?
Yes. Turn on Edit regions and click a part: pick its thread colour (or merge it into another thread), sew a column as satin or fill, turn the fill direction, make it lighter or denser, or drop the underlay. The density map, X-ray (underlay only) and What changes views show the effect before you download.
How small can text be?
Lettering under about 6 mm tall does not read well on fabric. We flag it in the quality notes; make the design wider or shorten the text.
Which fabrics are supported?
Woven cotton, knit jersey, fleece or towel, cap twill and leather or vinyl. Each preset changes density, underlay and pull compensation.
What happens to my image?
It is kept only for a short time so you can download the files, then deleted as new designs come in. There are no accounts and no public gallery of uploads.